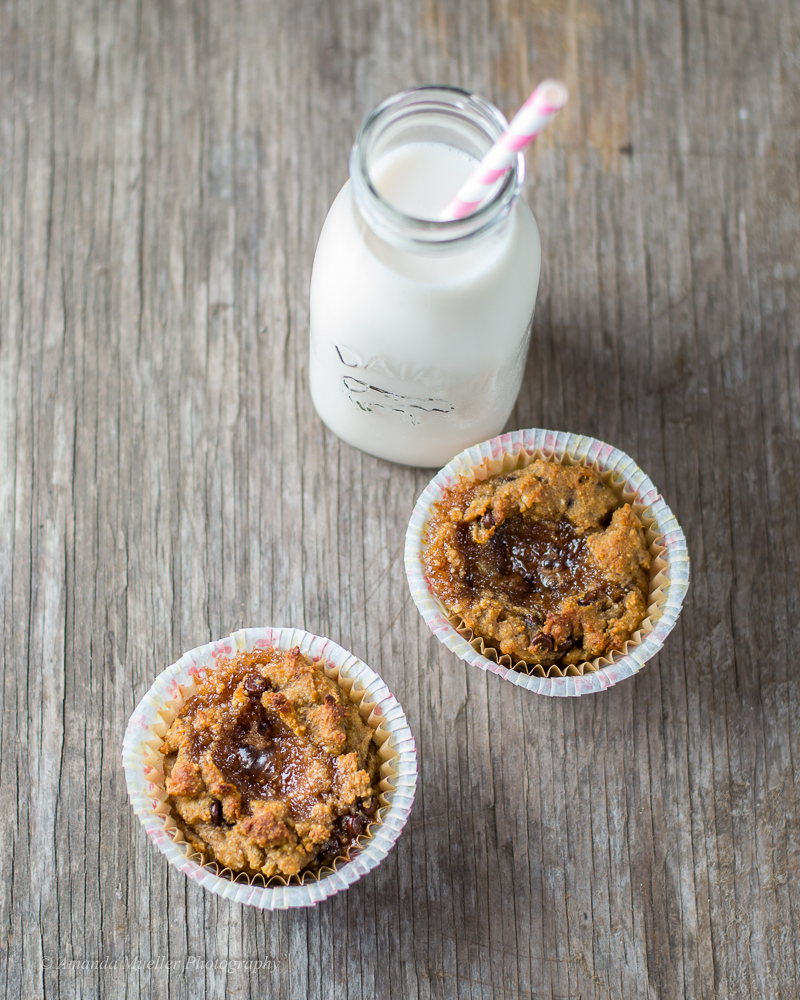
50mm, 1/200 second, f/2.8, ISO 100
It doesn’t take a lot of fancy equipment or hard techniques to take well-lit and appetizing photos of food! Which is good news for photographers that want to try some food photography or a blogger who wants to learn to take better pictures for their posts. I didn’t take pictures of my set-up (you’ll have to imagine!) but it’s simple to set up and start shooting. This set-up is for artificial lighting – which can be intimidating to many photographers, although this set-up is not complicated like some are. Before I had learned more about lighting, it was kind of mysterious how food photographers got their lighting to look so good and I wish that more of them would show how they set it up! :)
Many beautiful food images can be taken with natural light as well, especially diffused light outdoors or window light, indoors with a reflector, but this post covers artificial lighting, which can be especially helpful when it’s dark outside, because you create your own light. Most of the time we want lighting for food photography to be soft and in a position that emphasizes the texture of the food – in other words not front-lit. You want the food to catch the viewer’s attention, not the lighting. Making the light look like it is coming from a window is a good goal and a softbox makes that possible, as it diffuses and softens the light from the flash.
Here is a list of the equipment that I used:
A DSLR and 50mm lens
A double-sided reflector
A light stand, speedlight (off-camera flash,) and softbox (with a bracket to attach them)
Two radio slaves (I used Cactus but you could also use Pocket Wizards or a different trigger)
Your lens choice is important because different lengths of lenses affect how the finished image looks. I would recommend using a 50mm lens, nothing fancy, because that gives the closest resemblance to how we see in real life (opposed to a wide-angle lens which makes the background look far away or a telephoto lens which compresses the background.) Of course there are always exceptions, though, and if you have a macro lens you may wish to use that as they are optimized for shooting at close distances and will let you focus very close to your subject.
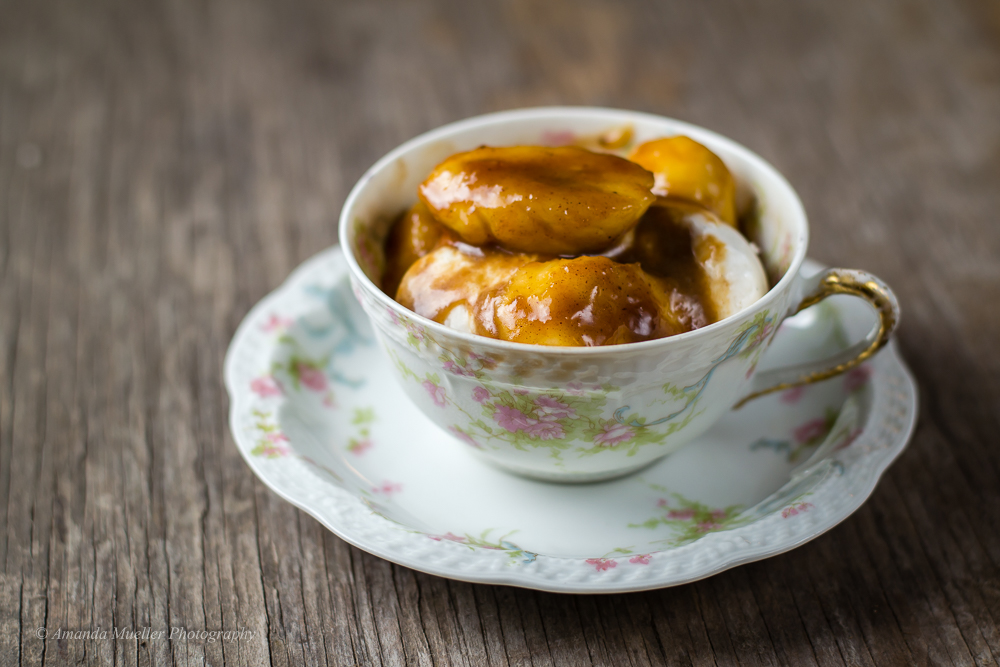
50mm, 1/200 second, f/3.2, ISO 100
To set up, first lay out your background. I used a piece of old barn wood but you could use just about anything you like. Make sure that it’s big enough to leave ample room around the area that the picture will take up. I like to set mine up on a counter top. (Note that this set-up is for fairly small items and the view is slightly or deliberately looking down. If you want to look straight at a larger subject and show a background directly behind it, you might need another light to light that background.)
Now set up your light stand and softbox. Place it to the left side of where your subject will be and a little behind. You may have to adjust it later on. Prop up a reflector directly opposite of where your softbox is on the other side of your subject, just slightly angled downward and silver side in, so that the light from the flash will bounce off of it and fill the shadows on the other side of your subject. Make sure to have both of these things very close to where your food will be. The closer the softbox is, the softer the light. If you could see past the edges of these example pictures, the softbox and reflector are very close.
Put the radio slaves on your flash and camera (or however your triggering system works) and set your camera and flash to full manual mode; I would suggest starting with your camera on the settings you want, ISO 100, whatever your fastest flash sync speed is for the shutter speed, and from f/2.8 to f/5.6. Start with the flash on 1/64 power; you may need to adjust this also.
Set up your food how you want it! Then take a test shot (remember to have your highlight “blinkies” on in your image preview so you can tell if there are a lot of clipped highlights.) Adjust the power of the flash up or down until you get the amount of light that you want. Remember if you are shooting in RAW – which you really ought to be doing! :) – you can always pull the highlights down a little in post production.
Now you are set up to take amazing pictures of your food!
I guess I should quickly discuss post production, however, because it is an essential part of preparing your RAW files. I like to do as little as possible and usually get as much right in the camera as I can so there is not a lot to be done. I imported these example images in this post into Adobe Lightroom, which is essential to my workflow, with a develop preset that I put on all my RAW files during import. It includes brightening the exposure 1/10 stop, bringing up the shadows +25, a bit of clarity, vibrance and saturation, but don’t overdo those, noise reduction, and changing the point curve to medium contrast.
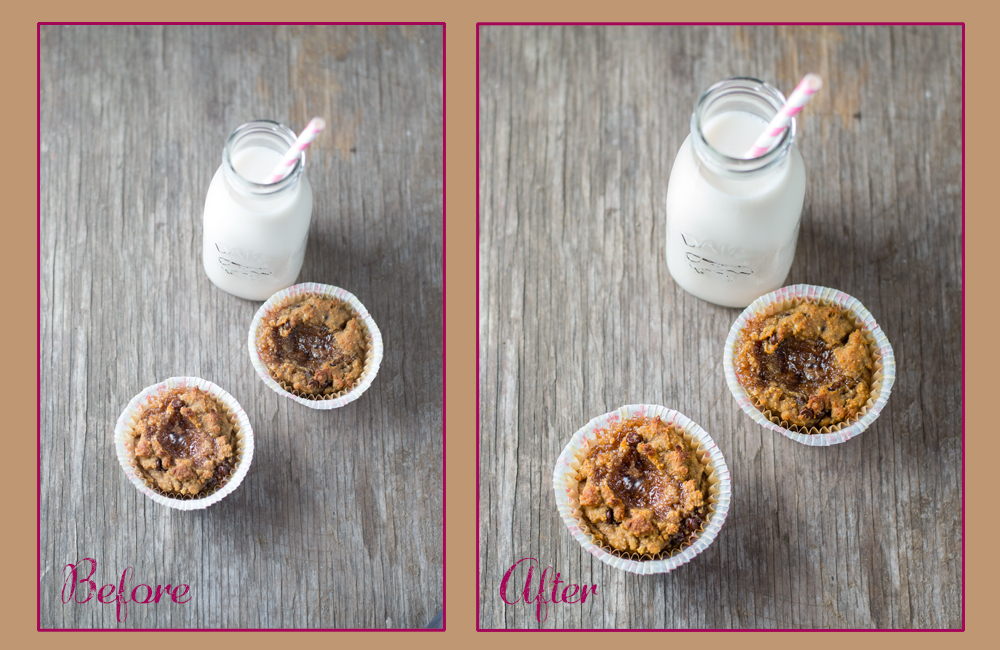
After I select my favorite images, I tweak each one to look its best, which usually includes optimizing white balance (I always shoot stills in auto white balance), tweaking exposure if it’s not just right, pulling down the highlights, and/or extending the dynamic range by pulling down the blacks and pulling up the whites, just a bit, sharpening, cropping & straitening, and sometimes a subtle vignette. Unprocessed RAW files are “flat”, unlike jpegs, and need to be processed before they are ready to use. On the first image, I also used a feathered adjustment brush in Lightroom to selectively bring down some of the highlights. Here is a before and after of the editing process of the first example image:

I hope that this tutorial helps you in some way! Feel free to leave a comment with a image that you created after reading this!


